Total Pageviews

Search This Blog

Translate

Sunday, 6 July 2025

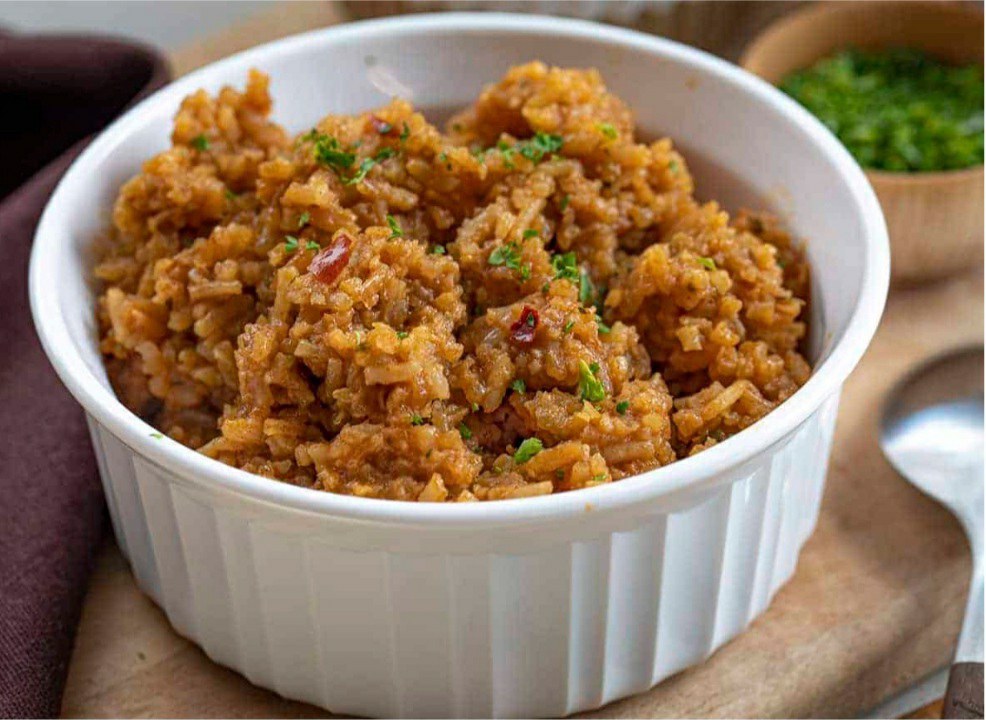
Texas Roadhouse Rice


There is this Chuck Wagon Cook that does YouTube videos.  He is sort of funny.  Always cooking outside and feeding his dogs.

Ingredients 

2 cups Basmati Rice

1/2 cup Butter

4 cups Chicken Broth

1 tablespoon Smoked Paprika

2 tablespoon Dried Parsley

1 Onion chopped

1/2 cup Soy Sauce

1/2 teaspoon Cayenne Pepper

1/2 teaspoon Black Pepper

1/2 teaspoon Garlic Powder

1 tablespoon Minced Garlic


Stuff you will need

6cup sauce pan with lid

Colander ( to rinse the rice)

Mixing bowl

Mixing spoon

Cutting board

Sharp knife


Key Ingredients

Rice: Use long-grained white rice for this recipe, like jasmine or basmati. It separates better than medium or short-grained rice, which easily sticks together. 

Seasonings: The seasonings give bold flavor to the rice. If you don’t want a little extra kick in each bite, leave out the crushed red pepper flakes.

Rinsing Rice

The first thing to do before making this recipe is to rinse the rice. The reason to rinse the rice is to give it a more consistent texture and remove any pesticides or debris that may be on the rice. Rinsing also gets rid of excess starch, which, in turn, keeps the grains fluffy and not stick together.

To know when the rice has been rinsed enough, the water coming out of the bottom of the strainer should be almost clear. At that point, the rice is ready to be cooked.

Directions

Once the rice has been rinsed, set it aside and melt butter in a large saucepan over medium-high heat. Add the rice and saute it until browned. This takes from 5-7 minutes. Next, add the seasonings and mix them in with the rice. Pour in the chicken stock, mix, and bring to a boil.

Reduce the heat to low, cover the saucepan, and simmer for 25-30 minutes. At this point, the rice should have softened and most of the liquid will have been absorbed. When it’s done, it will still look a little wet. Be careful not to overcook the rice. Serve immediately.

Why is the Rice Mushy or Dry?

Nobody wants mushy or dry (crunchy) rice. So, how do you prevent either from happening? If the rice is too mushy, or gummy, it was probably cooked too long. Or, it wasn’t rinsed enough before cooking it. 

If the rice is still crunchy, or undercooked, it could have been cooked at too high of a temperature. Or, if you removed the lid too soon, steam could have escaped, causing the rice to be crunchy. Finally, there may not have been enough liquid added. If that is the case, add a little more liquid to the rice and let it cook a little longer.


Instructions

In a large saucepan over medium-high, melt butter.

Add rice and saute until browned (about 5-7 minutes).

Add onion, paprika, parsley, garlic powder, and crushed red pepper. Mix until combined.

Add chicken stock, mix, and bring to a boil.

Reduce heat to low, cover, and simmer for 25-30 minutes, or until rice has softened and most of the liquid is absorbed. (Be careful not to overcook; it should still be a little wet-looking.) Serve immediately.

Meat Smoking Guide


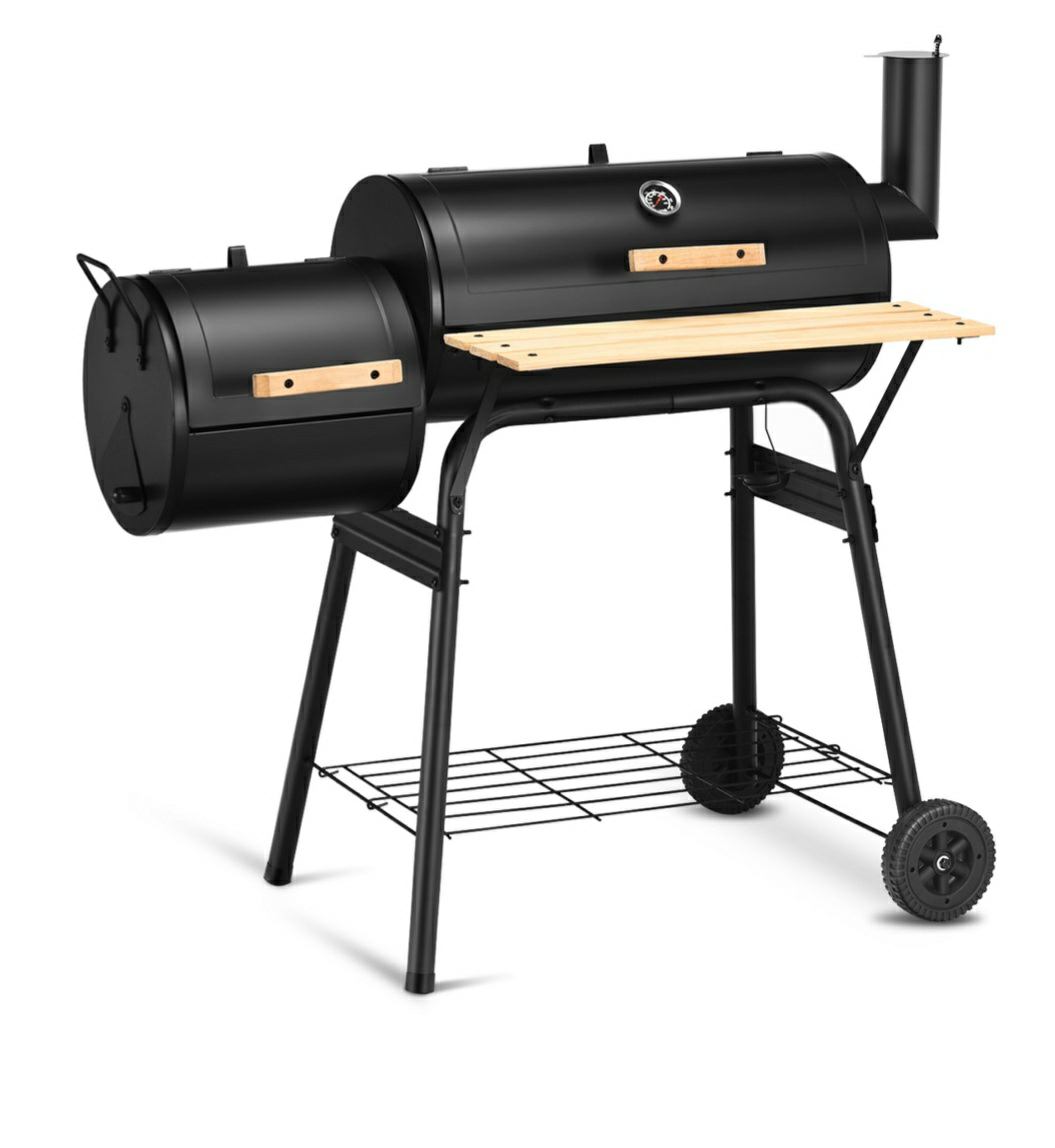
Seen this magnet on Amazon.  Would be nice to stick on the side of my Bradley Smoker.
I had an Off Set Smoker.  Loved it!  It is alot less expensive than the Electric Smoker.  But heat control was less efficient then the Electric Smoker.

Smoking meat involves cooking it at low temperatures with indirect heat and wood smoke, resulting in tender, flavorful results. A successful smoke requires proper temperature control, wood selection, and an understanding of the "low and slow" cooking process. 

Key Steps for Smoking Meat:

1. Prepare the Smoker:

Choose the right wood: Hickory, pecan, oak, cherry, maple, and apple are popular choices, each offering a unique flavor profile. 
Prepare your smoker: Arrange coals (if using a charcoal smoker) on one side, and place a drip pan on the other. 

Control the temperature: Aim for a stable temperature between 225°F and 275°F for most meats. 

Maintain smoke: Use a light blue smoke, which indicates a clean burn and good flavor absorption. 

2. Prepare the Meat:
Thaw completely: Ensure meat is fully thawed before smoking. 

Season or marinate: Use dry rubs or marinades to enhance flavor. 

Truss if necessary: Secure larger cuts with butcher's twine for even cooking. 

3. Smoke the Meat:

Use indirect heat: Avoid placing meat directly over the heat source to prevent flare-ups and burning. 

Monitor temperature and smoke: Use a meat thermometer to track internal temperature and observe smoke color. 

Add wood chips or chunks: Soak wood chips before adding them to the smoker to prevent them from burning too quickly. 

4. Rest the Meat:

Allow for carryover cooking: Let the meat rest after smoking to allow the internal temperature to rise and redistribute juices. 
Resting time varies: Resting times can range from 10 minutes to an hour or more, depending on the cut of meat and cooking time. 

5. Food Safety:

Cook to a safe internal temperature: Use a meat thermometer to ensure meat reaches safe temperatures (e.g., 145°F for beef and pork, 165°F for poultry). 

Avoid the "danger zone": Keep food out of the 40°F to 140°F temperature range for extended periods. 

Tips for Success:

Use a meat thermometer: Essential for monitoring internal temperature and ensuring food safety. 

Maintain a consistent temperature: Fluctuations can lead to uneven cooking and dry meat. 

Be patient: Smoking is a low and slow process, so don't rush it. 

Experiment with wood types: Try different wood combinations to find your preferred flavor profiles. 

Don't over-smoke: Excessive smoke can result in bitter flavors. 

Let the meat rest: This is crucial for juicy, tender results. 

Saturday, 5 July 2025

Nesqick knockoff


As a kid, I would BEG Mum to get Chocolate Nesqick.  Those darn Saturday morning cartoons and the advertisements that were aimed at kids.

Ingredients 

2/3 cup cacao powder
1 1/3 cup of white sugar
1/8 tsp of salt (a pinch of salt)

Stuff you will need

Mixing bowl
Spoon
Measuring cups
Canning jar for storage

Directions

In a mixing bowl, add all the ingredients and mix well.

Transfer to a canning jar with a label on it.  Nothing worst than putting something in the cupboard and not knowing what is in the container.

To 1 cup of milk, add a heaping spoonfull of the knockoff Nesqick.  Stir well and serve right away.

Comments and suggestions are ALWAYS welcome!

Friday, 4 July 2025

Apple Fritters

Apple Fritters

My other favorite donut.  Didn't know they were this easy to make.

But is the mess worth it?

Equipment

Bowls
Whisk
Wooden spoon
Large Pot
Spoons
Spider Strainer/Ladle or metal slotted spoon or tongs
Sheet pan with a wire rack
Paper towel-lined
plate Candy thermometer


Ingredients

Apple Fritters
2 to 3 apples Granny Smith, Gala, etc. peeled, cored, and cut into small chunks
1 to 2 tbsp fresh lemon juice the juice from half a lemon (15 to 30ml)
1 cup all-purpose/plain flour 120g
1/2 tsp. salt 2g
1/2 tsp. ground cinnamon 1g
1/8 tsp. ground nutmeg 1/2g
1 1/2 tsp. baking powder 6g
3 tbsp. white granulated sugar 45g
1 large egg
1 tsp. vanilla extract 5ml
1/2 cup milk whole, 2%, 1%, Almond, etc. (125ml)
1 tbsp butter melted (14g)
Oil for frying vegetable, canola, coconut, peanut, shortening, lard

Glaze
1 1/2 cups of powdered sugar 180g
1 to 2 tbsp water 15 to 30ml


Directions

Begin by taking a large pot and adding enough oil to be about 1 inch deep. Place it on the burner and set the heat to medium-high, allow it to heat to 350 F/176 C. 

Wash, peel, core, and cut the apples into small chunks and place them in a medium bowl. Pour the lemon juice over them and stir until well coated.

Now in another medium bowl whisk together the flour, salt, baking powder, cinnamon, nutmeg, and sugar.

In a large bowl whisk the egg, vanilla extract, and milk together. Melt the butter either in the microwave or in a pot on the stovetop. Make sure it isn't really hot, then pour it in with the egg and milk mixture and whisk to combine. Then pour in the flour mixture and stir the batter with a wooden spoon or silicone spoon. It will be a bit too thick for the whisk. Add the apples to the batter and fold them in.

Using two spoons scoop in a good amount of batter into the hot oil. Don't overcrowd them.
Allow them to fry for a few minutes per side until really nice and browned. Use a spider ladle, metal slotted spoon, or tongs to turn them and then remove them.

Place them on a plate lined with a paper towel for a minute or so then put them on a wire rack to cool. This will help keep them crispy.

Add some water to a bowl and then add in the powdered sugar. Keep adding water and stirring until you get the thickness you want. You can dip them in, or drizzle the glaze over them with a spoon. Allow the glaze to dry for a few minutes, it doesn't take long. 

Then serve them! Enjoy.

Tuesday, 24 June 2025

Smashed Potatoes

 
Since I am in the hospital for an extended stay...  I have on the internet...  looking at videos...  oh and if I didn't run across this gem.

Ingredients 

4 medium potatoes
1/4 cup of olive oil
1/2 cup of shredded cheddar cheese 
Salt, pepper, onion powder, garlic powder to taste

Stuff you will need

Cookie sheet lined with parchment paper
Cutting board 
Sharp knife 
Pot to boil potatoes
Wide bottomed glass
Silicone brush
Oven gloves
Spatula 

Directions

Wash the potatoes with fresh water.  Leave the skin on. Remove any blemishes. 

Boil potatoes.  To make sure they are done, you should be able to insert a fork and the potato should not offer any resistance. 

Remove the potatoes and cut in half.

Heat oven to 400 F.

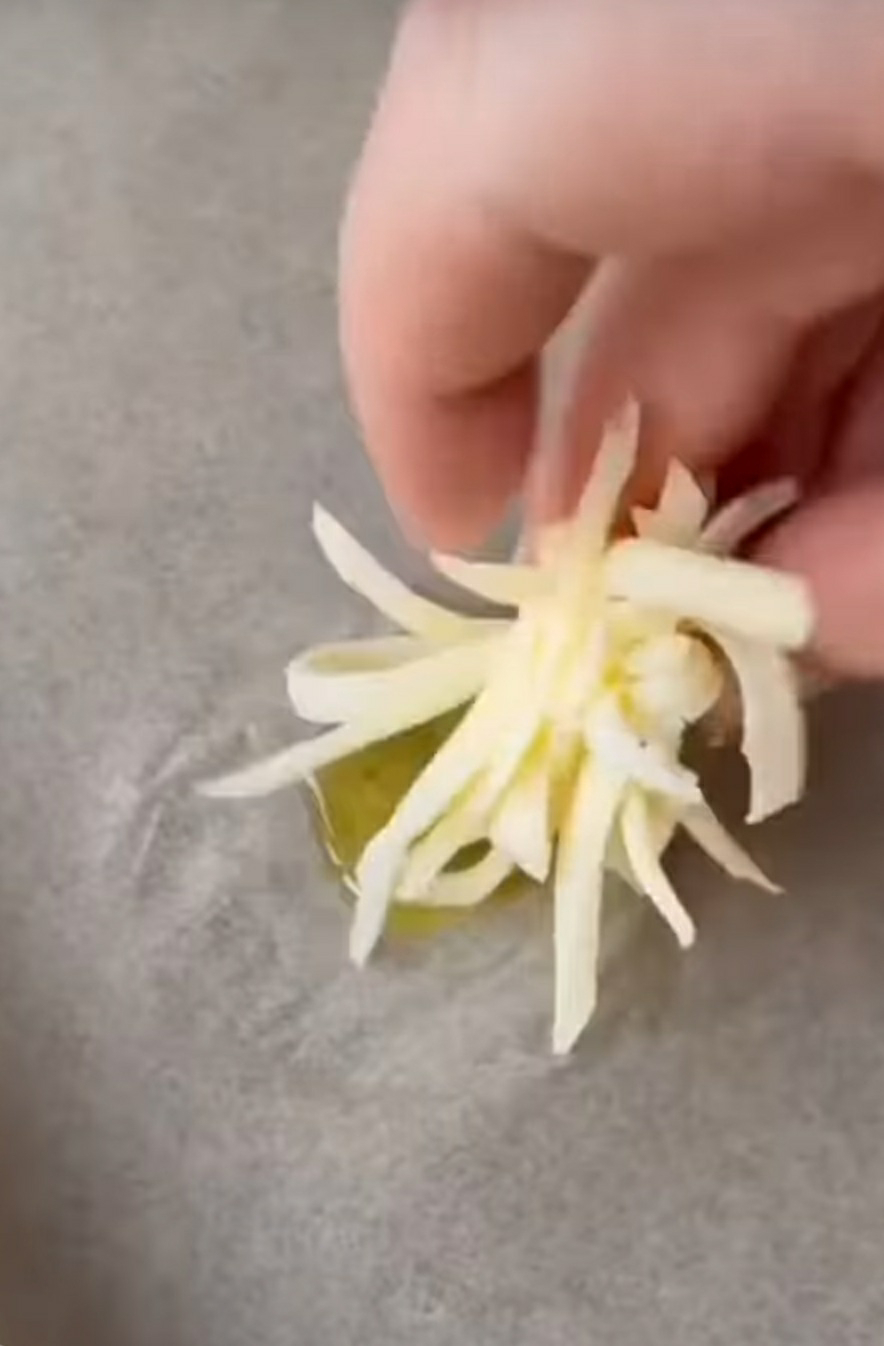
But a dab of olive oil on the parchment paper and put some cheese on top of the olive oil.  

Put the 1/2 potato on top of the cheese.  

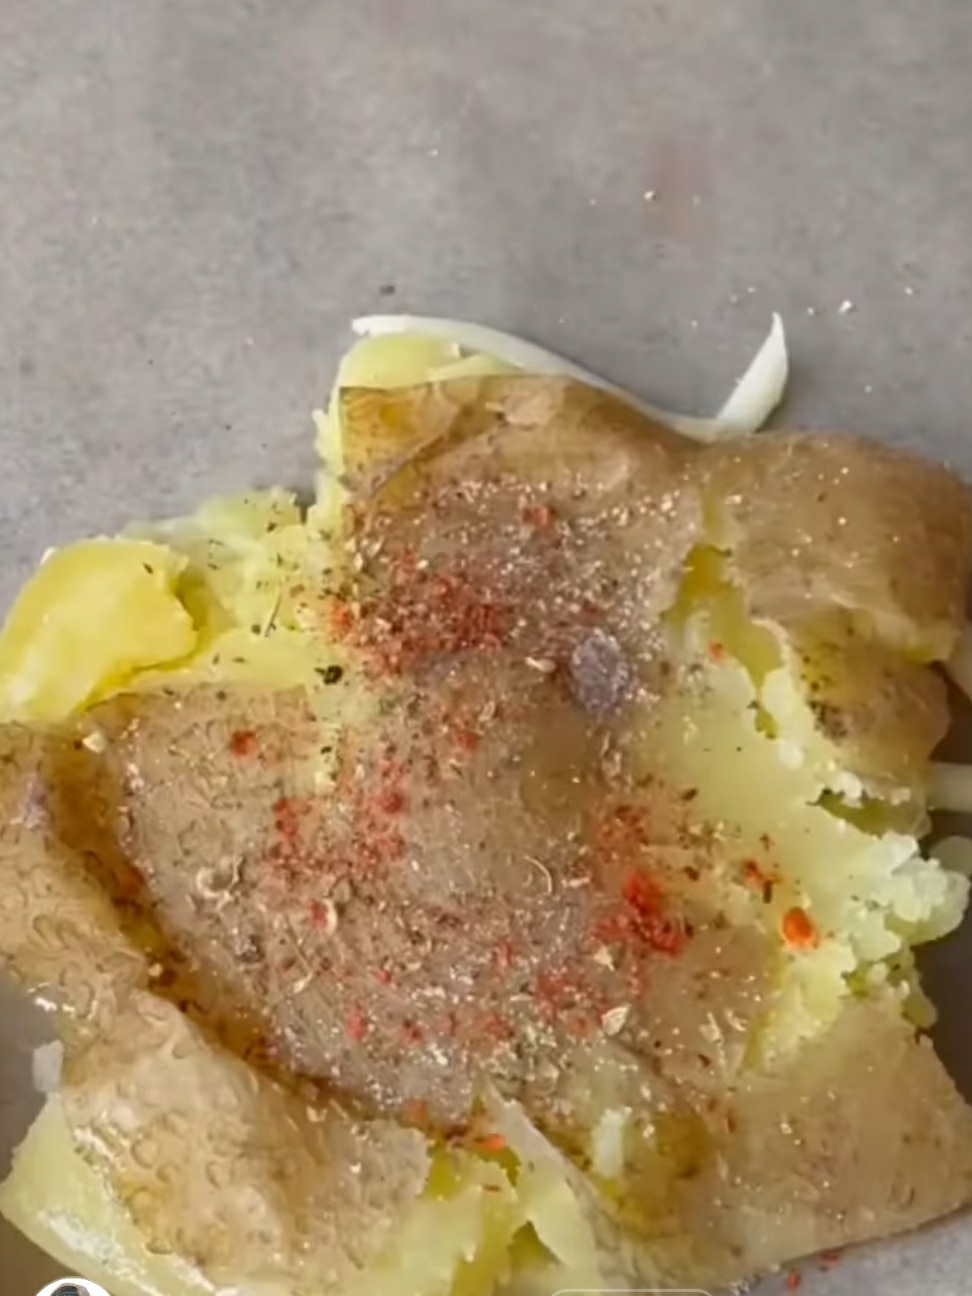
SMASH the potato.

Brush a dab of olive oil on top of the smashed potato.  Season your potato to your liking. 

Put some more cheese on top of this.

Bake at 400 F for 20 minutes.

Let cool for a few minutes before you plate them up.

Serve with your favorite dipping sauce on the side.

Comments and suggestions are ALWAYS welcome!